
|
IN BRIEF
|
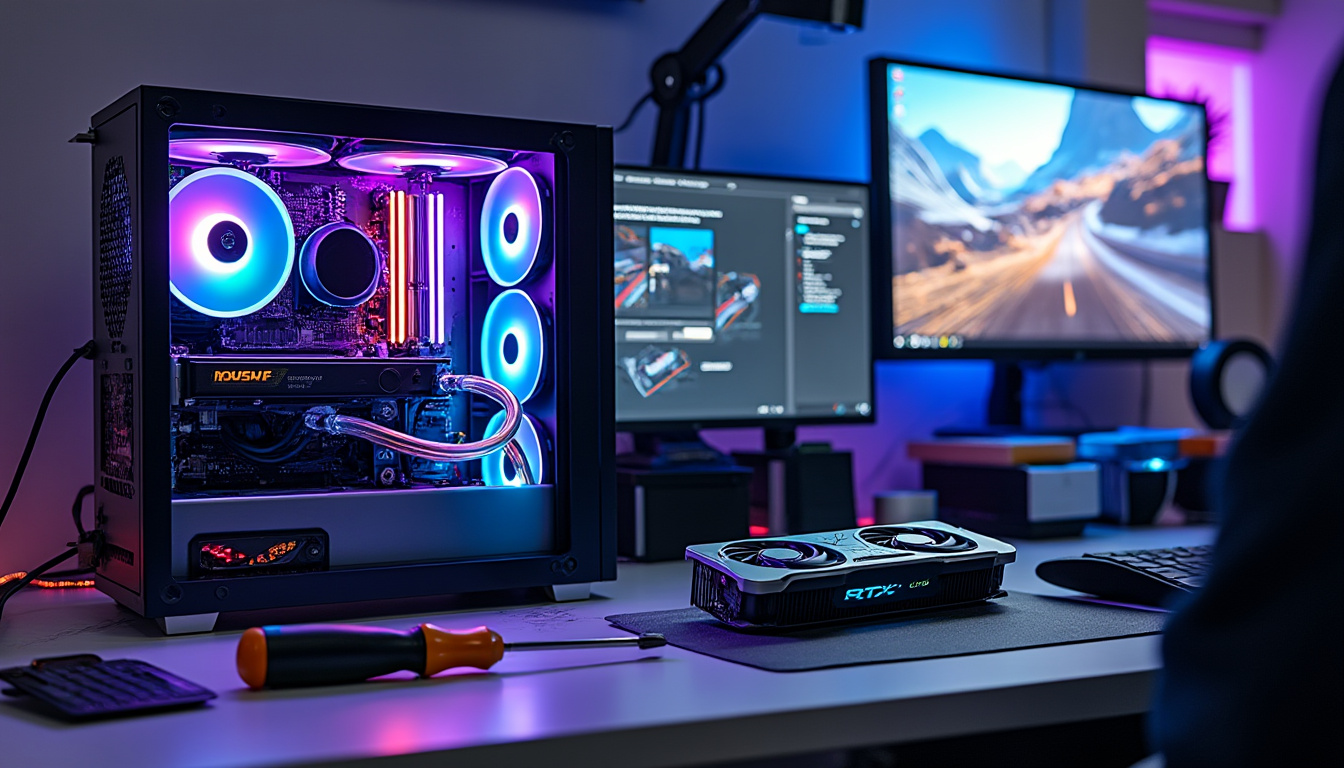
Building a gaming PC is like embarking on a thrilling quest where every component is a magical artifact waiting to unleash its power. Recently, I set my sights on constructing an RTX 5090 gaming powerhouse, eager to harness the cutting-edge capabilities this behemoth GPU promises. Join me as I share my exhilarating journey through the build process, including a detailed step-by-step guide that’ll have you crafting your dream rig in no time.
Building a gaming PC can be an exhilarating adventure, especially when it involves a powerhouse like the RTX 5090. This article breaks down my personal experience building a new gaming rig with this intimidating graphics card, complete with a step-by-step guide for anyone daring enough to embark on a similar journey. From choosing components and managing cables to tackling assembly challenges, let’s dive into the nuts and bolts of my build experience!
Planning My Ultimate RTX 5090 System
The first step in my build process was selecting the right components. The RTX 5090 is an absolute beast, requiring a compatible motherboard and power supply. I turned to resources like Tom’s Hardware for informed recommendations. Most of their suggestions were spot-on, but I did make a couple of tweaks based on my preferences.
Choosing the Right Components
It was essential to ensure that all my parts worked harmoniously together. The CPU I selected needed to complement the power of the RTX 5090, while also fitting within my budget. I opted for a powerful processor and abundant RAM to avoid any bottlenecks in performance. Today’s PC building market offers a plethora of choices, making it both exciting and overwhelming!
Building Process: Step-by-Step
With my components on hand, I set about assembling my gaming PC. Here’s a step-by-step rundown of the journey.
Preparing the Workspace
First things first, I organized my workspace. A clean and clutter-free environment is crucial for a successful build. I laid out all my components and tools, including a screwdriver and some cable ties for later. Feeling like a kid on a treasure hunt, I couldn’t help but get excited for the build to begin!
Opening the Power Supply Bay
Once I had the case ready, I started with the power supply. This required me to remove a bracket to gain access. High-quality power supplies can handle the demands of a gaming powerhouse, so I made sure to pick one that was robust enough for the RTX 5090’s appetite.
Installing the Motherboard
Next up was the motherboard. Aligning it properly so that all screw holes lined up became a mini game of Tetris! It took a few adjustments, but soon enough the motherboard was securely mounted. This step is vital because a properly installed motherboard sets the foundation for the entire build.
Populating the CPU and RAM Slots
With the motherboard set, I moved on to install the CPU and RAM. This part is often fraught with caution; one wrong move can damage those delicate pins. I carefully placed the CPU into its socket and locked it down before sliding in the RAM sticks. Ensuring they clicked into place is a satisfying sound!
Attaching Graphics and Other Components
The moment I had been waiting for: installing the RTX 5090. Fitting it into the PCIe slot required a tiny bit of finesse, but it slotted in smoothly. After that, I connected the SSD, securing it beneath the heatsink with a single screw.
Cable Management: Keeping It Neat
Now came the tricky part: cable management. Organizing cables can be the difference between a clean build and potential airflow issues. I drew on the groundwork I laid out earlier to snake the cables through the grommets, adhering them along the sides of the case and out of view.
Powering Up and Testing
With everything neatly connected and secured, it was time to power up this nifty creation. I held my breath as I pressed the power button. With a gratifying hum, the PC sprang to life! Venturing into the BIOS, I verified that all components were recognized and functioning correctly before proceeding to install my operating system.
Conclusion: Ready for Gaming Glory
With my build complete, I couldn’t wait to test the performance of the RTX 5090. This powerful component will enable a new realm of gaming experiences, allowing me to fully immerse myself in stunning graphics and fluid gameplay. If you’re considering tackling a similar project, arm yourself with determination, patience, and a penchant for gaming. Who knows? You might find it’s one of the most rewarding crafting adventures you’ve ever embarked on!
Essential Aspects of Building an RTX 5090 PC
| Aspect | Details |
| Components Required | High-speed CPU, ample RAM, robust power supply |
| Installation Difficulty | Moderate; requires attention to detail |
| Cost Consideration | Premium build; expect high expenses |
| Cooling Solutions | Efficient cooling is critical for performance |
| Performance Gains | Significant boosts in gaming performance |
| Future Upgradability | Easy to swap components as technology evolves |
| Viewing Experience | Optimal for 4K gaming; visual delights |
| Assembly Time | Approximately 4-6 hours for a skilled assembler |